Making your own Soap
Making soap is easy and cheap, but also very dangerous, as you will be handling some chemicals!
I have been making my own soap for a few years now, varying recipes and the further declining into shampoo and house cleaning material.
This small post will try to give you the important basic knowledge to get started
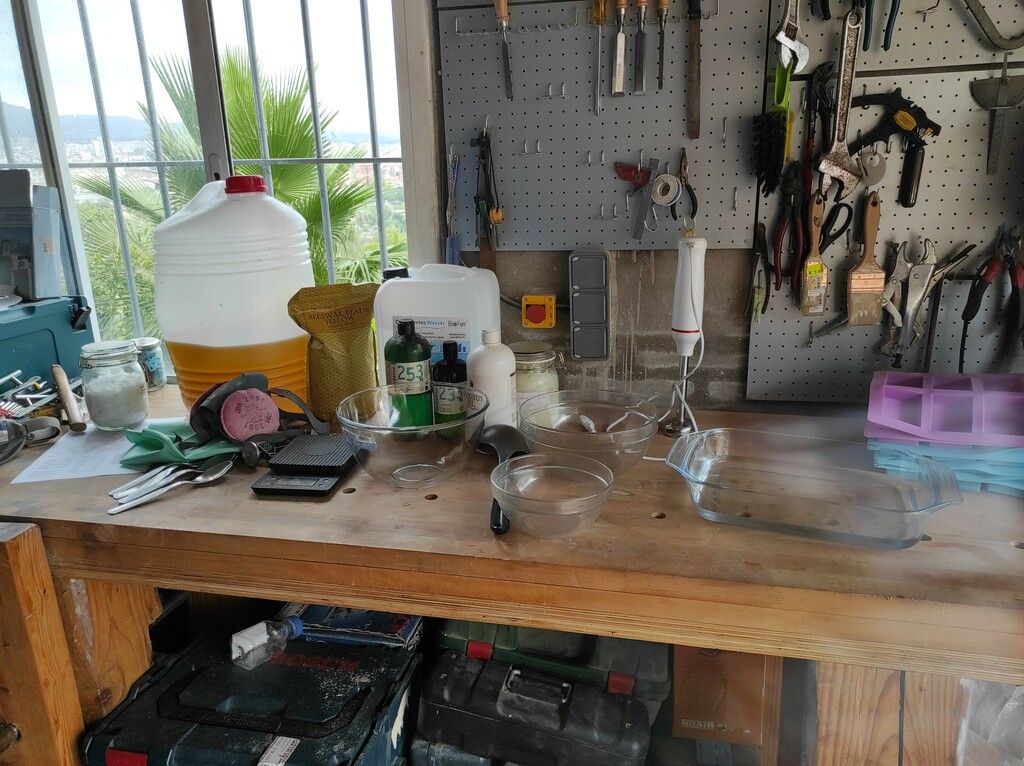
Tools and ingredients
Tools:- - A computer with internet (to make your recipe)
- - Good protection gear: eye protection, face cover, gloves, long pants and shirt with sleeves
- - At least 4 pyrex bowls (thermo resistant glass) - size depends on the amount of soap you want to do
- - A soup mixer
- - Hot water
- - Spoons
- - one big or various small molds for the soaps
- - A cooking thermometer
- - A precise scale (at least gram precision)
- - Olive Oil
- - Demineralised water
- - Caustic soda
- - (Sunflower Oil) - optionnal
- - (Shea butter) - optionnal
- - (bees wax) - optionnal
- - (Jojoba oil) - optionnal
- - (Essencial oil) - optionnal
Process
The saponification process is a chemical reaction where an fats (oils here) bind to an alcali (here caustic soda) to form a dipolar molecule (soap). There are two main fabrication processes to make soap, cold and hot saponification. In this post I will use the cold method - best suited for making it at home
Different alkali will give the soap different properties, in general soaps are made either with caustic soda - to get a hard soap (like savon de marseille), or potassium hydroxide - to get a liquid soap (like savon noir).
Similarly, different fats will give the soap different properties, which is why the ingredient list can vary! The first step in the process of making soap is to find out what you want to include in your soap
I use the mendrulandia soap calculator to determine the exact components and amounts I use - as I change recipe every time I make soap.
What you are aiming for, is to have all numbers of Blend's prediction in green: that is what we call a good soap. As you can see in the following screenshot, I headed for a soap that is quite hard and not very soluble - with good conditioning properties.
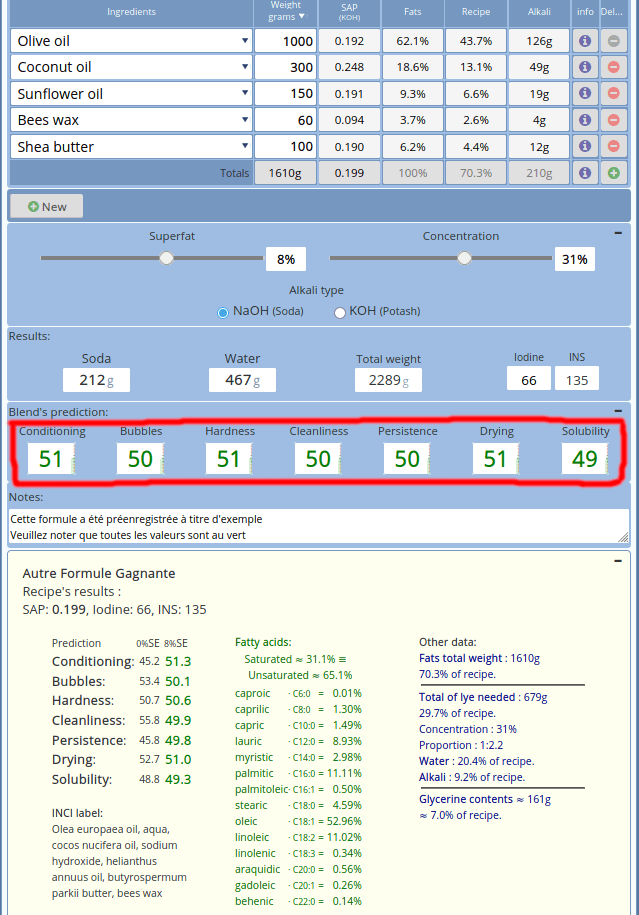
You can see the formula mentions superfat lets see why this is critical for you soap to be good for the skin.
As we've seen, saponification is just oils binding with alcali. We are not in a superlab using 100% pure ingredients, so it is very likely that there will be leftovers from one of the components.
While oil won't cause harm to you skin at room temperature, Alkali will burn your skin!. Knowing this, we'd much rather have a bit of etra oil than extra alcali in our soap: this is the superfat.
The saponification reaction starts very quickly, and then slows down to reach chemical equilibrium, the cold saponification process literally takes months to complete - having a bit of extra oil alows to arrive at chemical stability faster.
Having those few % extra fat, also make up for possible measuring errors and ensure that all the alcali molecules have been bound.
As a general rule, I like to make my soaps in the summer, because some oils become liquid at room temperature, which makes it muuuch easier to work - on the other hand, wearing the protective gear can be tedious when it gets too hot.
For a global overview, we are going to do two mixes separately, and then incorporate them:
- On the one side, incorporationg the caustic soda with the water, and slowly stirring while it slowly cools.
- On the other side, mixing the oils together - warming them with bain marie (water bath)
--> incorporate both mixtures
1. Incorportating the caustic soda with the water:
Handling caustic soda is DANGEROUS! You should do this wearing full protective gear in a controlled - well ventilated environment (no kids playing around).
If you get caustic soda on your skin, it WILL burn and leave you scars for life.
The reaction of caustic water is highly exothermic: it produces a lot of heat (the mixture can heat up above 90 degrees celsius - almost boiling point).
It is of utmost importance that you slowly pour the caustic soda in the water, AND NOT THE CONTRARY.
If you pour the water on the caustic soda, it will spit in all directions - and you will end up in the hospital, desfigurated for life!!!
Once the caustic soda is into the water, gently stir (you don't want it to spill or spit) - until the temperature reaches around 40 degress celsius.
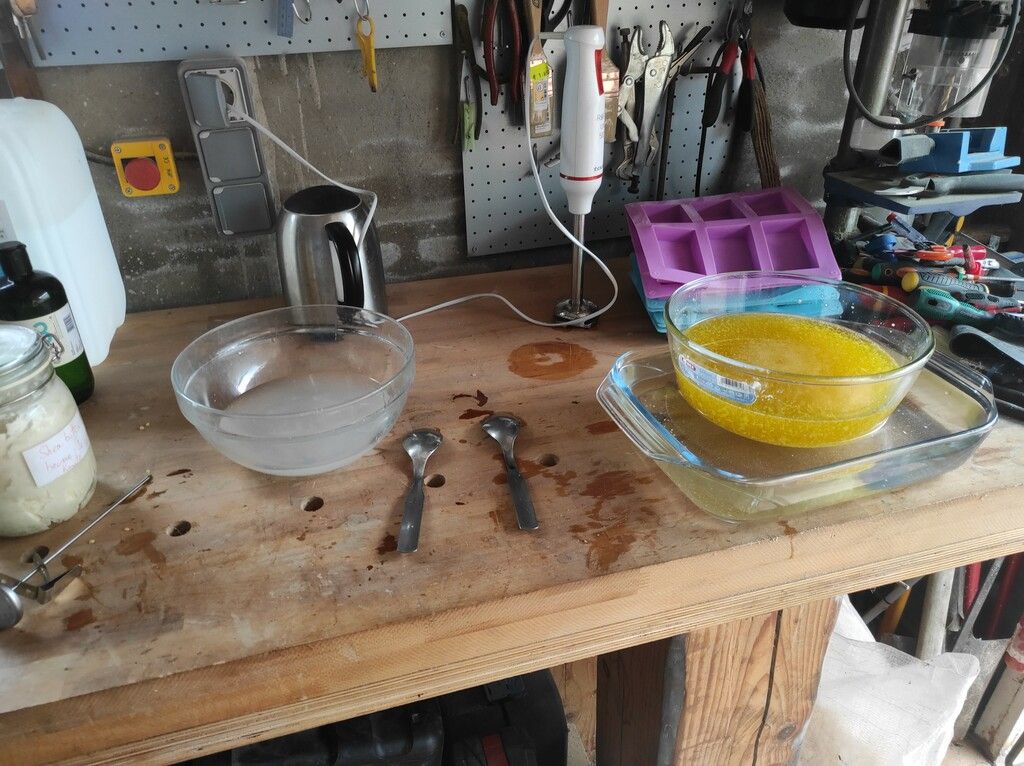
2. Mixing the oils:
You want to mix all the oils while slowly warming them up to around 40 degrees celsius - to ensure everything is well melted (shea butter, bees wax, ...) To do this, I pour almost boiling water in one large pyrex container and put the pyrex bowl with the fats in it. I usually need to replace the warm water once to reach the desires 40 °C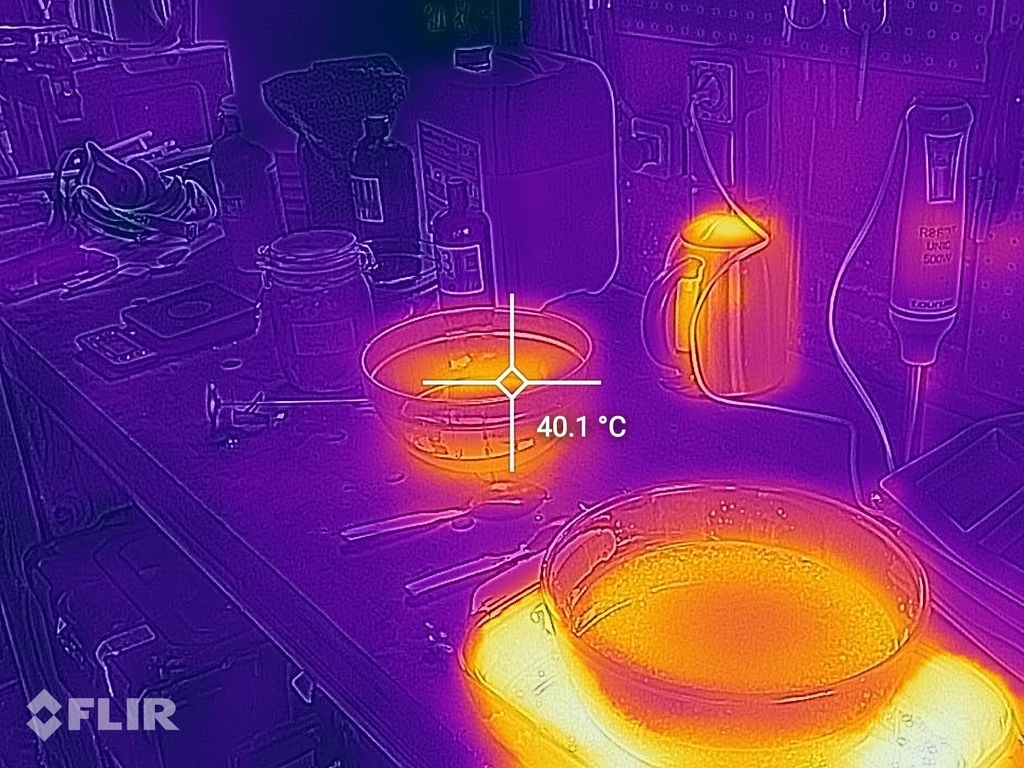
3. Incorporating both mixes
When both mixtures reach similar temperatures, gently pour the alkali mix into the oils (no spitting). Again, gently pour the alkali into the oils, not the countrary! Once you poured it, you can use the soup mixer to start the chemical reaction. Be very carefull when doing that, as you want to avoid things spilling over - the overall mixture still has a PH which is way to high for the skin.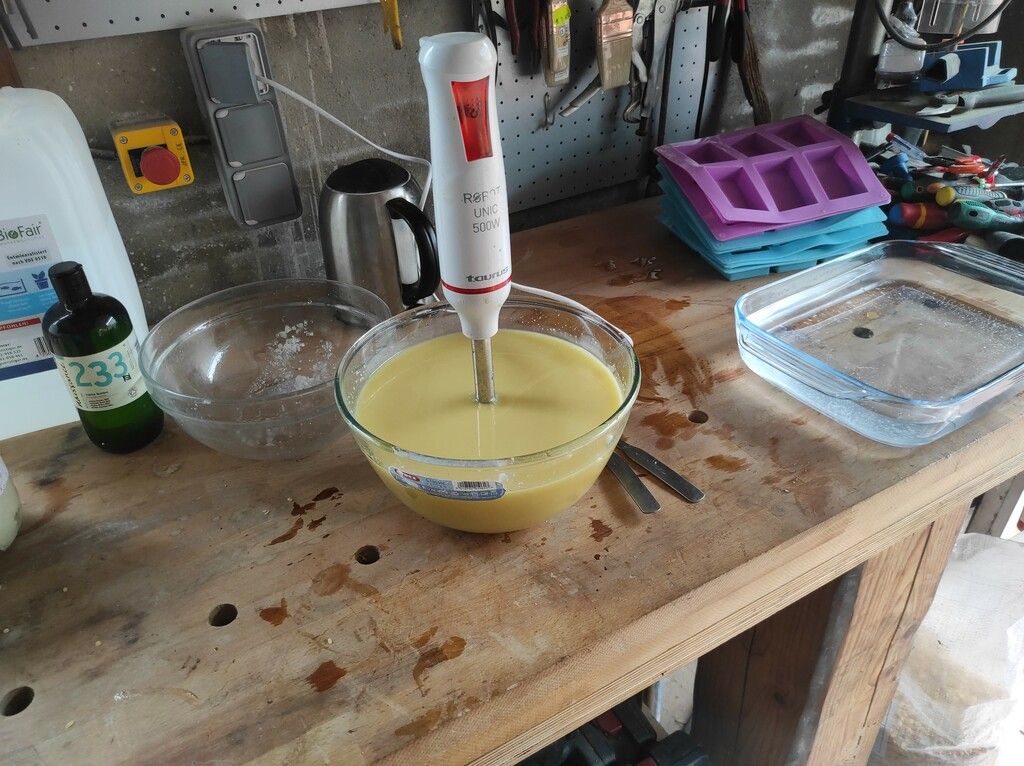 When the mix is becoming thicker, the saponification process started. You should stop mixing when the mixture is still liquid enough so it can be poured into to molds!
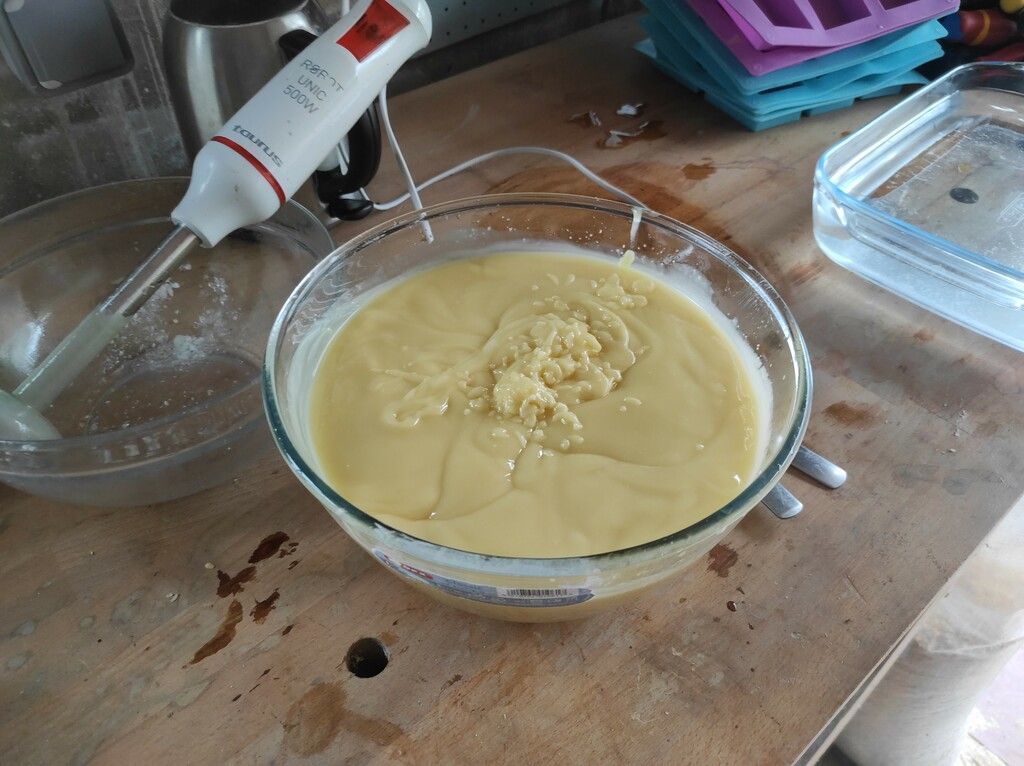
4. Drying
Once in the molds, let the soap dry for 24 to 28 hours, so that it is solid enough to be unmolded.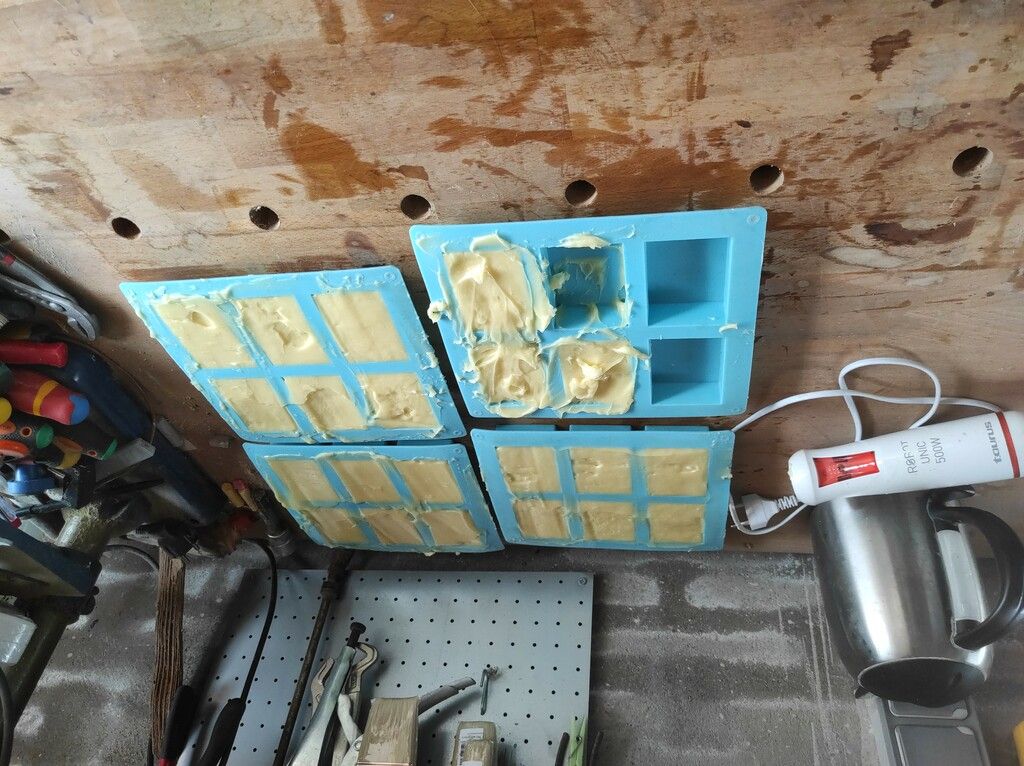
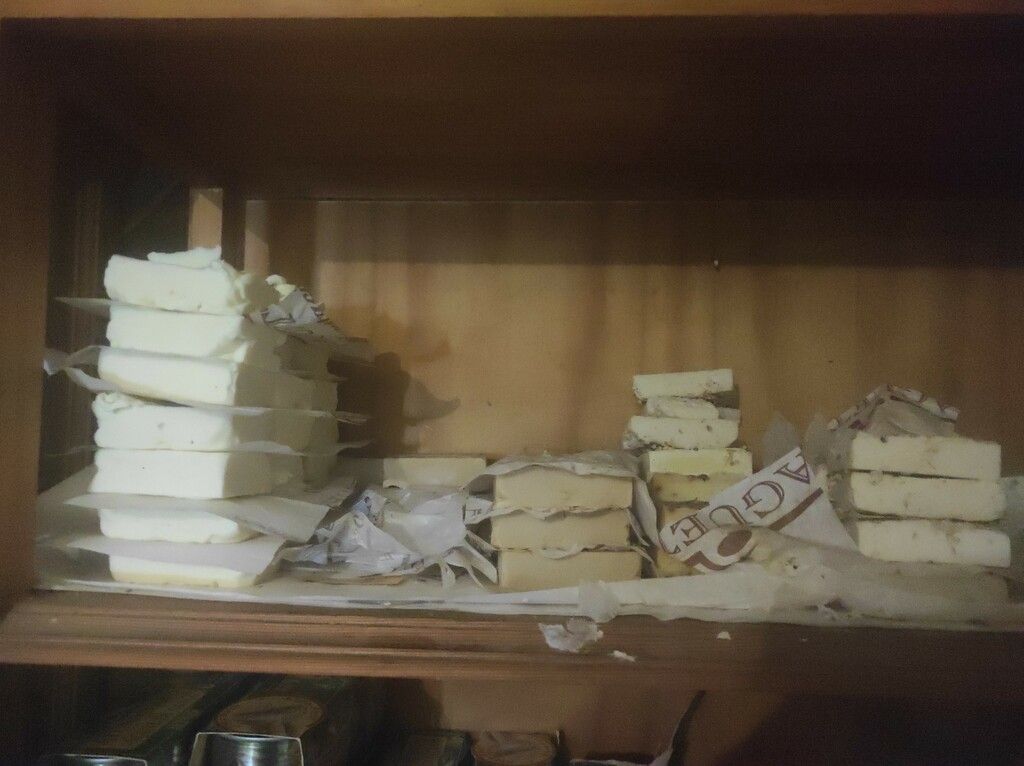
5. Curing
Unmold it and leave your soap in a dry, well ventilated space for at least 8 weeks for the alkali to completely react (finish curing).